

Materials/Supplies
- 1/3 yard main fabric ( I used a light-weight denim)
- Scrap of accent/pocket fabric (needs to be about 6 inches by 13 inches, or 6.5 inches by 12 inches)
- 6 x 6.5 inch interfacing (I used heavy-weight)
- Cord or Rope
- Thread
- Pins
- Scissors
- Unless otherwise directed, use 1/4 inch seam allowances.
- Make your pocket. Cut your accent fabric into two pieces matching the interfacing. Use the envelope method to sew the interfacing between the two layers of fabric and create a pocket. Baste the small opening shut, and topstitch the top of the pocket. I embellished my pocket with some embroidery and applique, but you could leave it plain or use any embellishment your heart desires.
- Cut your main fabric into a long piece measuring 9 inches by 24 inches. Fold short sides back 1/4 inch and sew.
- Sew your pocket to the front of the bag, sewing 1/8 inch from the edge of the pocket. I actually forgot to sew mine on until after step 9, but now really is the best time to do it. Center between the two sides, and sew it about 3-4 inches from top edge.
- Fold in half (hamburger style) right side in. Stitch along both sides of the bag, but leave the top side open. Then, pin your seam open.
- Sew next to the seam two inches down, turn and sew across, sew next to the seam on the other side. Repeat for other seam.
- Fold the top back 1 inch. Pin all the way around.
- Sew 1/8 inch from the folded edge, all the way around the bag. I used this really cute zig-zag stitch, but a straight stitch works just as well.
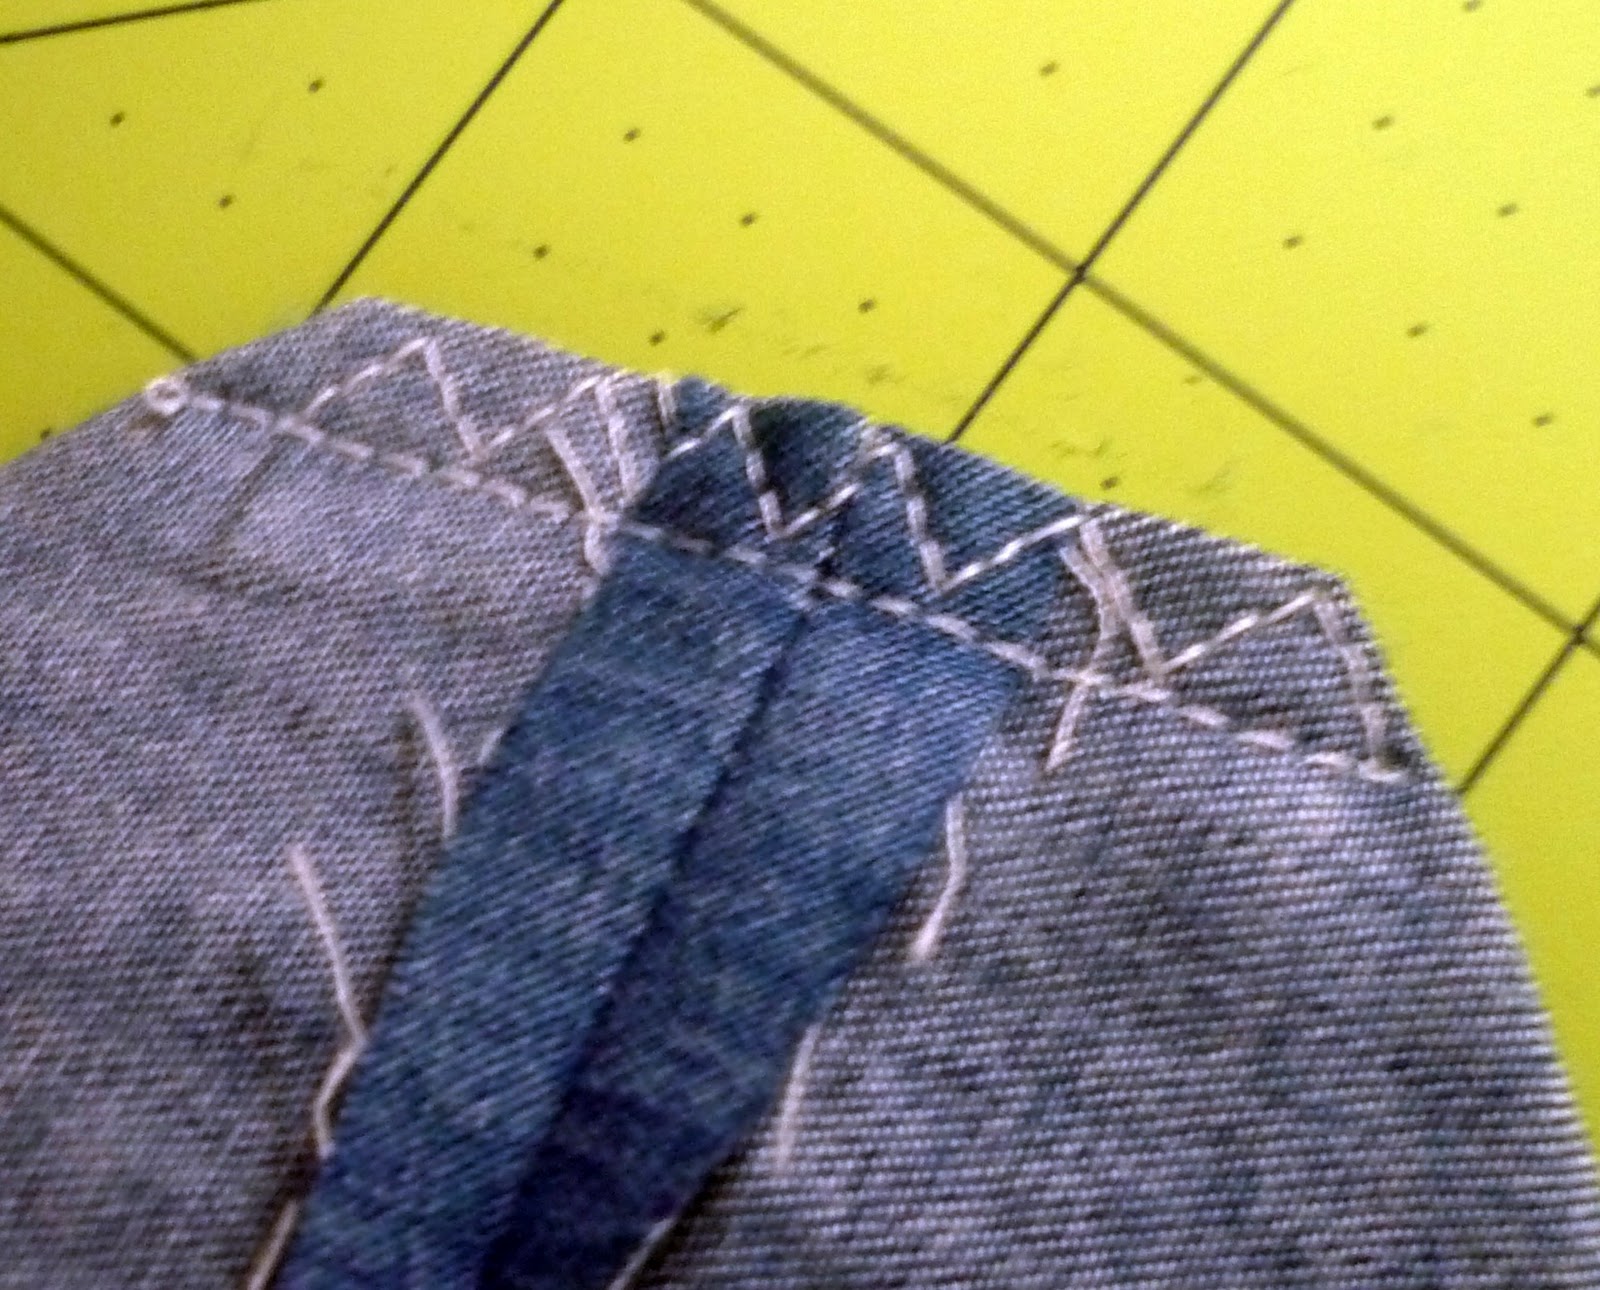
- Reinforce the two sides (see picture). Once you have reinforced your sides, use a seam ripper to open the casing sides, so you can pull your rope through.
- Use a pin to pull the cord through one side, then back through the other. Repeat for the other opening. You must go all the way around with both lengths of cord, or the drawstring part won't work.
- Pull the cord flat through the casing, then straight down the side. Place a piece of tape around the two cords where they meet at the bottom of the bag. Then cut through right at the bottom.
- Flip the bag inside out. Fold the corner out into a triangle. Pin the cord into the corner, then sew 1 inch in from the corner. Your sewing line will be 2 inches long. Reinforce this seam with another line of stitches, then cut off the excess corner fabric. Repeat for second side.
- Flip it back right side out and fill it with goodies.


SO cute, Malory! And looks simple enough that I could probably even make one. Thanks for the great tutorial!
ReplyDeleteSo cute! I'd love to have you stop by and link up at my For the Kids Friday Link Parties! Stop by SunScholars.blogspot.com to check it out!
ReplyDelete:)rachel
Good job! I like that you have both an "A" and his name, such a nice touch, wish I had an embroidery machine! Thanks so much for following DIY Addict!
ReplyDeletewhat a cool backpack! I'll bet he loves it.
ReplyDeletewhat a great idea. It is so hard for the little ones to stay occupied during church. These bags are so cute.
ReplyDeletemegan
craftycpa.blogspot.com
I am gonna have add this to my 'to-make' list. My daughter needs a little backpack and this is too cute!
ReplyDeleteWhat a nice straightforward tutorial for these cute little bags!
ReplyDeleteI would love if you came over and linked this project to my weekly Round Tuit party at:
http://jembellish.blogspot.com/
Have a great week!
Jill @ Creating my way to Success
I just finished making this bag for my little boy-he's 1. It turned out so cute and it was almost a one nap project! I'm thinking of making a couple more for a friend's kids now...
ReplyDeleteThank you for this tutorial, I am making one out of superhero fabric for my grandsons "action figures", he doesn't have enough hands to carry all of them, this is perfect, thanks again.
ReplyDelete