Pages Navigation Bar

Showing posts with label Bags. Show all posts

Tuesday, June 28, 2011

The (reversible) School-Time Messenger Bag

Sewing tutorial for making a reversible messenger bag
Do you remember when I went to Utah in March?  While I was there, I made this cute bag with my cousin Hannah (her friend Tess also made one).  I promised to post a tutorial explaining how to make the bag, but alas, it turns out that I do not take helpful pictures when I am helping two teenagers create something.  I know it has been months, but I finally remade the bag, and have the complete tutorial for you!

Supplies
    soft and stable
  • Scissors
  • Rotary cutter and mat (optional, but so helpful)
  • Sewing machine & thread
  • Pins
  • 1 yard decorator's/indoor canvas (one side)
  • 1 yard decorator's/indoor canvas (other side)
  • Soft & Stable (for the bag body) - this is optional, but it is a great product.  It is lighter than batting, and more stable.  You could use batting, or if you want a floppier bag, don't line it with anything.
  • Iron & ironing board
  • Pencil/pen
  • CD or DVD
  • Ruler or measuring tape
Directions
***unless otherwise stated, the entire pattern uses 1/4 inch seam allowances***
***these directions pertain to directional fabric; if yours does not have a direction, you can ignore directions***
  1. Begin by cutting each of your fabrics into the following sizes (the picture is to help people with directional fabric):
    1. Sewing tutorial for making a reversible messenger bag
    2. 13 x 11.5   front (cut 1 soft and stable)
    3. 13 x 11.5   back (cut 1 soft and stable)
    4. 4.5 x 11.5  sides (2) (cut 2 soft and stable)
    5. 13 x 11.5   flap
    6. 4.5 x 13     bottom (cut 1 soft and stable)
    7. 4.5 x 5.5    side pockets (2)
    8. 4.5 x 7       side pocket liners (2)
    9. 13 x 7.5     front pocket
    10. 13 x 9        front pocket liner
    11. 3 x 43       strap
  2. Make your strap.  Stack the straps right sides together and sew along both long sides.  Flip right sides out, iron, then sew 1/4 inch from the edge along the long sides again.
  3. Make your pockets.
    1. Sewing tutorial for making a reversible messenger bag
    2. Match your side pockets and side pocket liners.  The pocket liners should be 1.5 inches taller than the pockets.
    3. Stack and pin your pieces along the shorter side right sides together so that the top of the pocket matches with the bottom of the pocket liner.
    4. Sew pocket and liner together.
    5. Iron the seam allowances toward the pocket liner.
    6. Fold the pocket on top of the liner to match the bottom corners of the liner and the pocket.
    7. Iron them flat.
    8. Top stitch along the top of the pocket to stabilize.  I stitched two rows of top stitching for decorative effect.
    9. Repeat the process with the front pocket sewing along the longer edge this time.
    10. Sewing tutorial for making a reversible messenger bag
    11. When you are finished you will have all of the above pockets.
  4. Make your flap.
    1. Sewing tutorial for making a reversible messenger bag
    2. Trace your cd/dvd on the two bottom corners of each of your flap pieces.
    3. Cut the corners so they are round.
    4. Stack the two flap pieces right sides together.
    5. Sew around the sides and bottom edges - leaving the top open.  Clip around the corners.
    6. Flip inside out, iron, and sew 1/4 inch from the edge for the three sides you just sewed.
  5. Sew together bag body.
    1. Stack in the following order: the front piece of soft and stable, the front fabric right side up, the front pocket right side up, the bottom fabric right side down, the bottom soft and stable.  Sew together.
    2. Sewing tutorial for making a reversible messenger bag
    3. Mark down the center of the front pocket, then sew down to create two smaller pockets.
    4. Sewing tutorial for making a reversible messenger bag
    5. Sew bag back onto the bag body by attaching to the bottom.  Stack the bottom (soft and stable with bottom fabric), back fabric, and back soft and stable, then sew.
    6. Sewing tutorial for making a reversible messenger bag
    7. Sew the sides to the front of the bag (remember to include the pockets and the soft and stable). 
    8. Sewing tutorial for making a reversible messenger bag
    9. Sew the sides to the back of the bag.  You will have an opening at the bottom of each side.  Pin sides to bottom, and sew a straight line to close the opening.
    10. Sewing tutorial for making a reversible messenger bag
    11. Repeat entire process for the other bag fabric (minus the soft and stable).  For the sake of this tutorial, we will call this the lining from now on, but understand this is not actually lining since the bag is reversible.  I sewed three lines down the front pocket of this one to create pen/pencil pockets.
    Sewing tutorial for making a reversible messenger bag
  6. Sew the flap to the bag body with the soft and stable.  I sew just a little less than 1/4 inch seam allowance to ensure this seam does not show when the two sides are sewn together.
  7. Sewing tutorial for making a reversible messenger bag
  8. Pin the strap into the bag body.  Be sure to not twist the strap when you pin.
  9. Sewing tutorial for making a reversible messenger bag
  10. With the bag right side in, place the lining right side out inside the bag and pin together around the top.  Be sure to catch the straps in the pins and make the pockets line up on the same side.  Sew around the top leaving a gap at the back to turn the back right side out.
  11. Sewing tutorial for making a reversible messenger bag
  12. Turn the bag right side out, then pin around the top. 
  13. Sewing tutorial for making a reversible messenger bag
  14. Sew 1/4 inch around the top to stabilize the bag--be sure to catch the opening and sew it shut when you sew around the top.

Sewing tutorial for making a reversible messenger bag

Thursday, June 9, 2011

Monogram Applique with Name Embroidery

I recently made this backpack for my nephew using the Child's Drawstring Backpack Pattern.  The initial and name on the pocket got such rave reviews that I thought I would share with you how to make a pocket like this these two.  You do not need an embroidery machine to make the letter applique.

Materials/Supplies
  • Embroidery hoop
  • Cotton fabric for pocket
  • Micro fleece fabric for applique letter
  • Water soluble stabilizer
  • Thread & sewing machine
  • Scissors
  • If you are making it without an embroidery machine, print a large copy of whichever letter you wish to applique.

Directions
  1. Begin by placing the outer hoop of the embroidery hoop down.
  2. Layer the cotton on top of the hoop with the right side up.
  3. Layer the fleece on top of the cotton with the right side up.
  4. Layer the stabilizer on top of the fleece. (If you are not using an embroidery machine, layer the letter printout)
  5. Hoop all layers together.
  6. Embroider the letter.  (If not using an embroidery machine, stitch in a zigzag stitch with an extremely short stitch length all the way around the letter)
  7. Cut away the excess fleece.
  8. Embroider the name.
  9. Remove the hoop and the stabilizer--my stabilizer mostly tears away, then I use water to remove any remnants.  Cut to desired size and use the envelope method to make the pocket.

Monday, March 7, 2011

Child's Drawstring Backpack

My friend Brook has four cute little ones.  I made Sunday bags for each of them, except her latest, Aiden.  Aiden is two now, and old enough to have his own backpack (that Mom and Dad won't have to carry) in which to bring his quiet toys to church.  I love these drawstring backpacks.  They are so easy to whip up in an afternoon.

Materials/Supplies
  • 1/3 yard main fabric ( I used a light-weight denim)
  • Scrap of accent/pocket fabric (needs to be about 6 inches by 13 inches, or 6.5 inches by 12 inches)
  • 6 x 6.5 inch interfacing (I used heavy-weight)
  • Cord or Rope
  • Thread
  • Pins
  • Scissors
Directions
  1. Unless otherwise directed, use 1/4 inch seam allowances. 
  2. Make your pocket.  Cut your accent fabric into two pieces matching the interfacing.  Use the envelope method to sew the interfacing between the two layers of fabric and create a pocket.  Baste the small opening shut, and topstitch the top of the pocket.  I embellished my pocket with some embroidery and applique, but you could leave it plain or use any embellishment your heart desires.
  3. Cut your main fabric into a long piece measuring 9 inches by 24 inches.  Fold short sides back 1/4 inch and sew.
  4. Sew your pocket to the front of the bag, sewing 1/8 inch from the edge of the pocket.  I actually forgot to sew mine on until after step 9, but now really is the best time to do it.  Center between the two sides, and sew it about 3-4 inches from top edge.
  5. Fold in half (hamburger style) right side in.  Stitch along both sides of the bag, but leave the top side open.  Then, pin your seam open.
  6. Sew next to the seam two inches down, turn and sew across, sew next to the seam on the other side.  Repeat for other seam.
  7. Fold the top back 1 inch.  Pin all the way around.
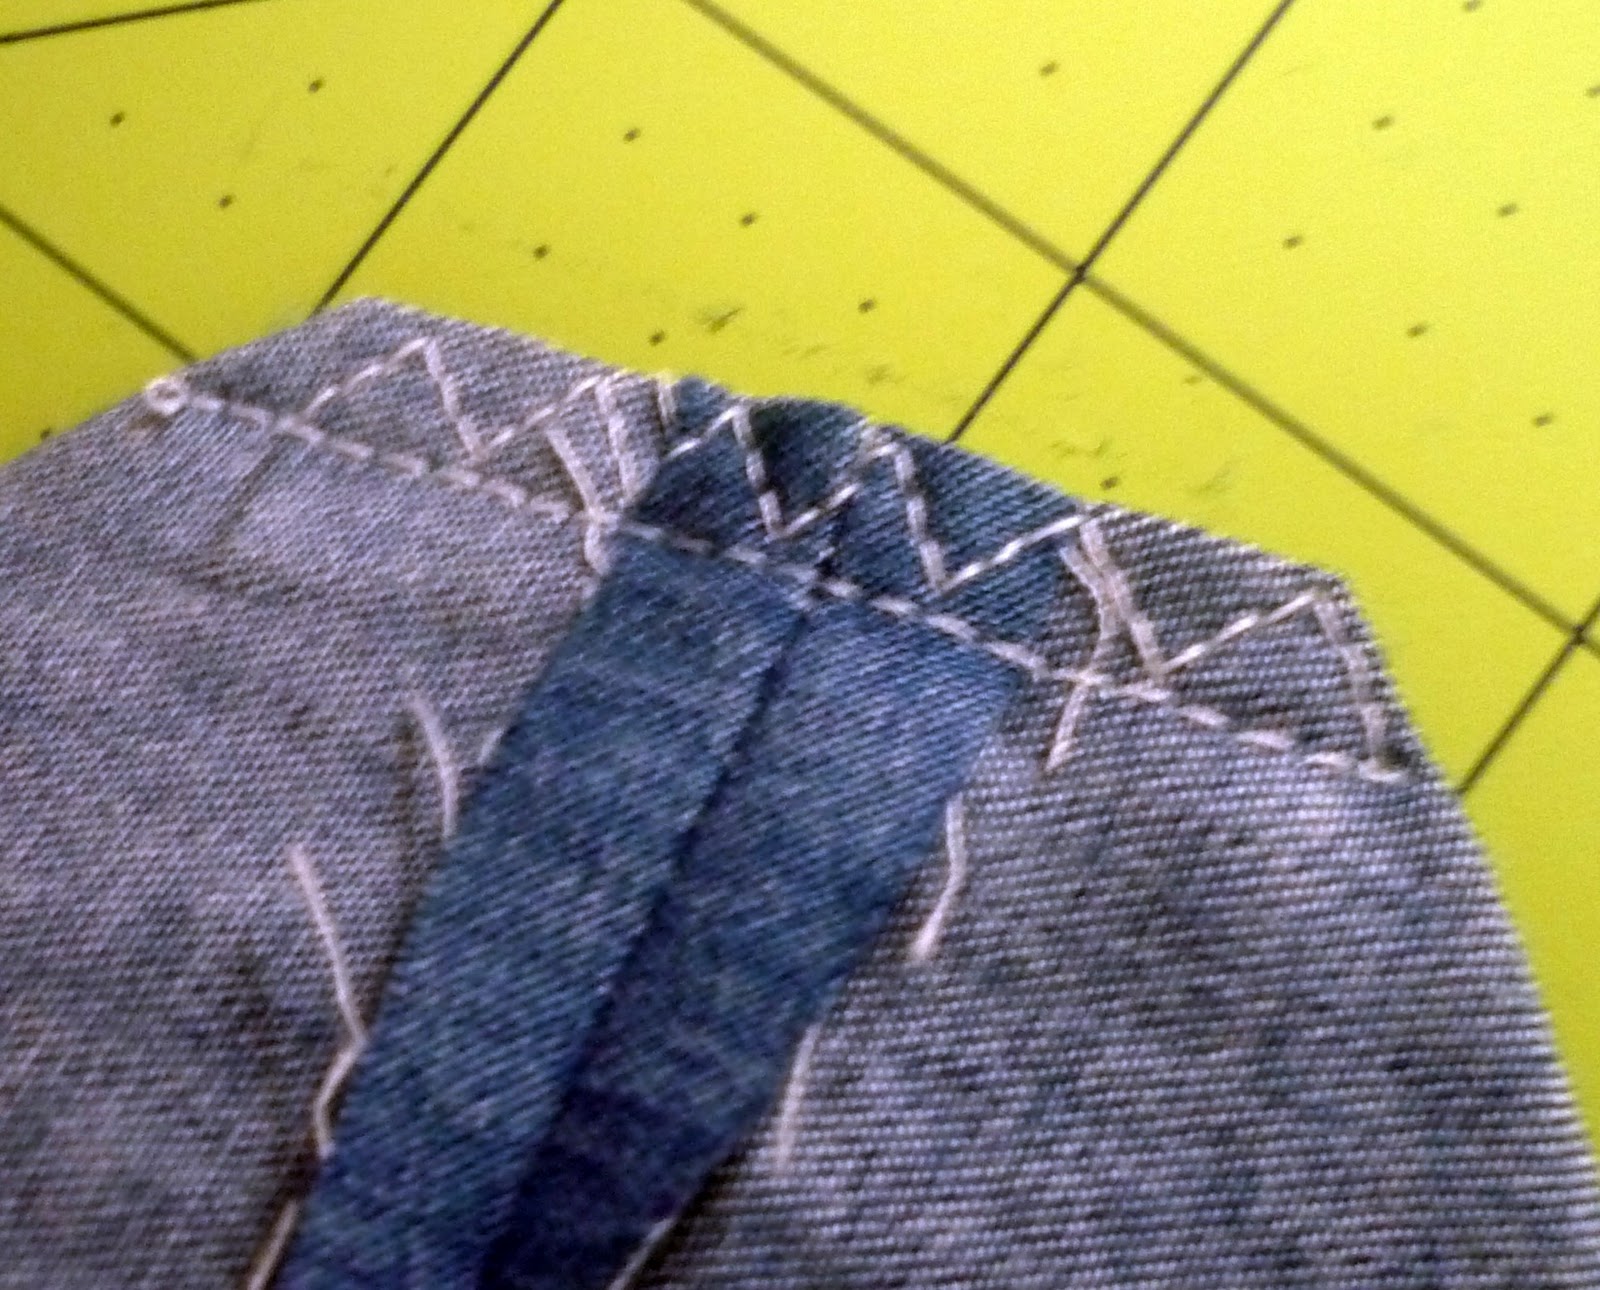
  8. Sew 1/8 inch from the folded edge, all the way around the bag.  I used this really cute zig-zag stitch, but a straight stitch works just as well.
  9. Reinforce the two sides (see picture).  Once you have reinforced your sides, use a seam ripper to open the casing sides, so you can pull your rope through.
  10. Use a pin to pull the cord through one side, then back through the other.  Repeat for the other opening.  You must go all the way around with both lengths of cord, or the drawstring part won't work.
  11. Pull the cord flat through the casing, then straight down the side.  Place a piece of tape around the two cords where they meet at the bottom of the bag.  Then cut through right at the bottom.
  12. Flip the bag inside out.  Fold the corner out into a triangle.  Pin the cord into the corner, then sew 1 inch in from the corner.  Your sewing line will be 2 inches long.  Reinforce this seam with another line of stitches, then cut off the excess corner fabric.  Repeat for second side.
  13. Flip it back right side out and fill it with goodies.

Sunday, March 6, 2011

Anthropologie Inspired Tote

A couple weeks ago, I guest posted this tutorial on I Heart Naptime with Chocolate Sundaes.  Have you been to Jamielynn's blog?  You should definitely check it out if you haven't.  In case you missed the tutorial, here it is!
My Tote


Anthropologie's Tote
A few days ago I saw this picture on Anthropologie, and I couldn't wait to try making this bag.  I don't know about you, but I don't have $500 to spend on a tote.  Are you ready?  Here's what you'll need:
  • 1 yard lining/accent fabric - I used a plaid cotton with no right/wrong side
  • 2 yards 3/16 inch cording
  • 2/3 yard linen
  • Fusible batting (optional)
  • Stabilizer
  • Pins
  • Thread
The first thing you will want to do is iron and cut all your fabric.  From the lining/accent fabric cut:
  • one piece - 6" x 26" (bow)
  • two pieces - 6" x 2" (bow tie)
  • two pieces - 30" x 1.5" (cording wrap)
  • four pieces - 2" x 22" (straps)
  • four pieces - 13" x 5" (top edge inside and outside)
  • two pieces - 15" x 13" (inside front and back)
  • one piece - 15" x 7" (inside bottom)
  • two pieces 7" x 13" (inside sides)
From the linen cut:
  • two pieces - 15" x 13" (outside front and back)
  • one piece - 15" x 7" (outside bottom)
  • two pieces 7" x 13" (outside sides)
From the stabilizer cut:
  • two pieces 15" x 7" (bottom)
  • two pieces 13" x 5" (top)
From the batting cut (you can use stabilizer instead, or extra fabric):
  • two pieces 2" x 22" (straps)
Now you're ready to start sewing.  The first thing you will want to do is pleat your linen.  To make the front and back pleats, take the outside front and fold in half along the 15" side.  Set your stitch length to 4 or 5 and sew a line .5" from the fold.  You only need to sew it a few inches long.

Measure 2" from the first fold and make another fold.  Sew another line at that fold.  Repeat until you have five sewn folds.  All the folds should be on the same side of the fabric.  Repeat for the outside back piece.


For the sides, you will sew only one pleat.  Sew a line 1.5" from the fold.

Set your stitch length back to 2.5.  Sew the two pieces of stabilizer to the outside bottom (I found it easier to sew the two pieces of stabilizer together first, then sew them to the bottom).  Sew .25" from edge.

Using a .5" seam allowance, sew the front and back to the bottom.  You want the stabilizer on the outside while you sew as well as the loops you made for pleats (they are on the opposite edge from the seam).  Then sew the seam flat to the bottom, sewing .25" from original seam.

Before you sew in the sides, you need to cover your cording.  Fold the fabric in half around the cord.  Use a zipper foot, or a cord foot to sew the fabric around the cord.  You want your seam to be as close as possible to the cord itself.  I used a cord foot, which was super easy!

Now sew your sides to the back, front, and bottom of bag with the cording in the seam.  Sandwich the cording between the front of the bag and one of the sides.  The loops for your pleats should be facing down for the front, and up for the side.  Sew together using a .5" seam allowance.

When you get to the seam for the bottom, lower your needle into the fabric, lift your presser foot, and pull the top fabric only to match the new edge.  Continue sewing bottom and repeat turn for last corner.

Your corner should look like this:

Repeat for the other side, and trim the tip off the corners, so they aren't as bulky.  Fold the seam flat to the bottom and stitch as you did the front and back seams.  Your bag should start to look like a bag.

Let's make those pleats look like actual pleats (not loops).  Use your fingers to press the loops flat as you sew a .25" seam around the top of the bag.  The center of each fold should match up to the seam of each pleat.  Then change your stitch length to 4 and repeat about 1" further in from original seam.

You are almost finished with the outside of the bag.  The final part for the outside is to add the top accent fabric.  Change your stitch length back to 2.5 and sew two of the top pieces together on both short sides with a .5" seam allowance.  You should now have a loop of fabric.  Repeat for the stabilizer.  I sewed the seam open and flat on the stabilizer to make it easier to work with in the bag.

Pin the stabilizer, accent loop, and outside bag together (all of your right sides should be facing in).  Line up the side seams with the center of your side pleat.  Then, use a .5" seam allowance to sew all layers together.


When you fold the flap up, it should look like this:

You will repeat these same steps for the lining of the bag.  The only differences are that the lining does not use any stabilizer or cording, and you will leave about a 5" gap in your seam on one side to pull the bag right-side-out.

Before sewing the lining to the bag, you need to make the straps.  Stack the batting (you could use stabilizer or extra fabric instead) on top of two layers of strap fabric (if you use fabric with right sides, put both right sides together).  Sew along the long edges .25" from edge.  Turn the straps right side out, and sew along the edge as close as possible.  Iron when you are done.


Turn the bag right side out, measure 3" from the side seam, and pin the straps to the bag.

Slide the lining over the outside bag with the lining facing right-side-in.  Pin the lining to the bag (make sure you get the straps pinned) matching the side seams.  Again, use a .5" seam allowance, sew the lining to the bag.

Turn the bag right-side-out by pulling it through the gap you left in the lining.  Sew the gap shut either by hand or machine.

To finish the bag, pick out the pleat seams, and the stabilizing seam.  Then, you will sew around the top .25" from the top edge, and again .25" from the pleated edge.

I adorned the top with a fabric bow, but you could use a flower or any other embellishment, or even leave it plain.

After all that work, I decided that the bag just didn't fit my needs.  I really need a new purse, but this is more of a tote.  I am a sucker for totes, but I already have about ten of them.  So I guess I will be selling this one on etsy.

I will be showing these off at these link parties.