
Today's cupcake is super cute! I can't get over how ridiculously cute these cuppy bears are! Meghan from Domestic Sugar Bake Shop is here to show you how to make one.
Hello Everyone
Meghan from Domestic Sugar here!
I love creating special treats that are both beautiful and edible. I am super excited to be able to participate in Cupcake Month with all these crazy good cuppy artists! Cupcakes (hereafter known as Cuppies) are the most adorable dessert. What privileged child does not have a great memory of eating a cuppy that was super crazy delicious. I remember going to a party once, to see these MONSTER cuppies with a ring of chocolate sprinkles and a crazy beautiful sugar flower in the center.
Anyway, this is my little addition to the party. I made these cuppies for my niece and nephew whom I love super lots!
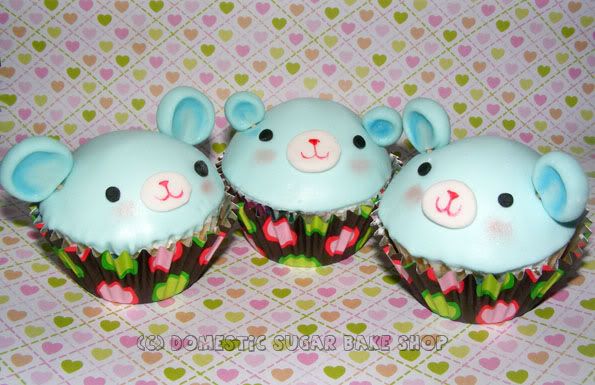
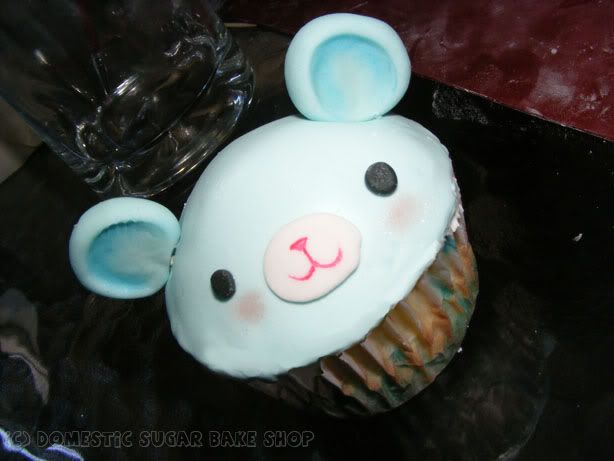
ENTER THE CUPPY-BEAR!
So, what will you need to make these cuties?
You will need to make some cuppies. Since these are cuppy-bears and they are blue, and it is raining (three reasons), I made some rainy insides:

To make the rain puddle insides, follow these directions, or just skip ahead to the Cuppy-bear part.
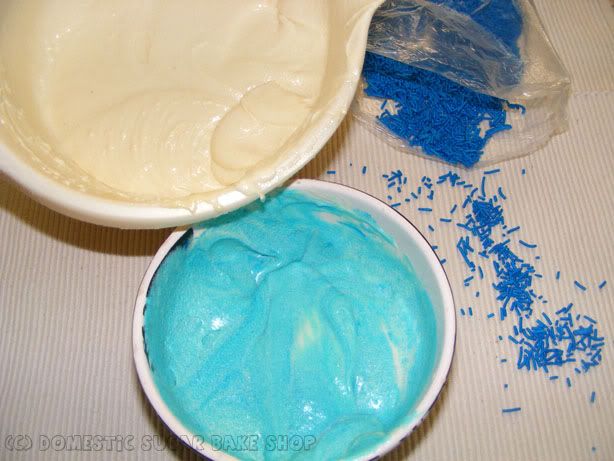
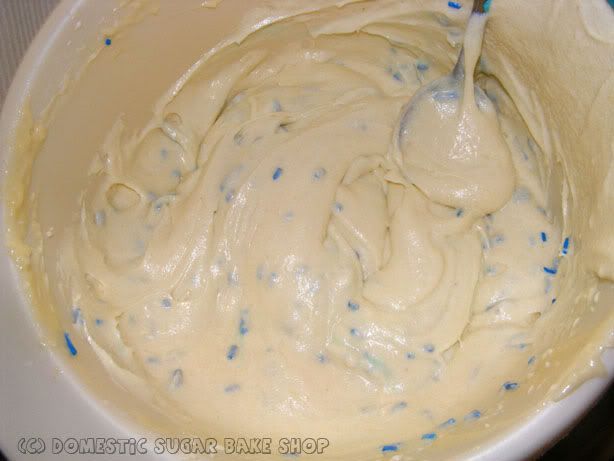
First, make a batch of your favorite Vanilla / White cake. It does not matter if it is from a box or from scratch. Take about One Cup of the mix out and dye it blue, leave the rest white. You will also need some Blue Jimmies (sprinkles) but I'll show you why in a bit.
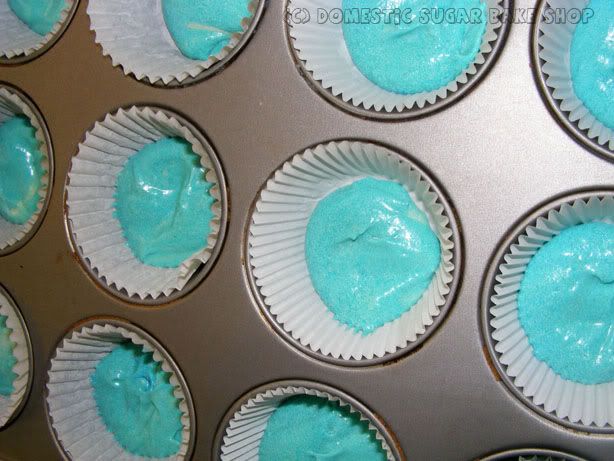
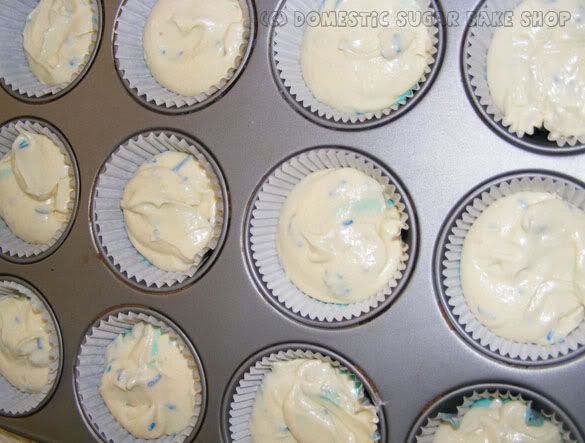
In your cuppy liners, fill the bottom 1/4 with the blue and spread it all about the bottom so as to cover it.
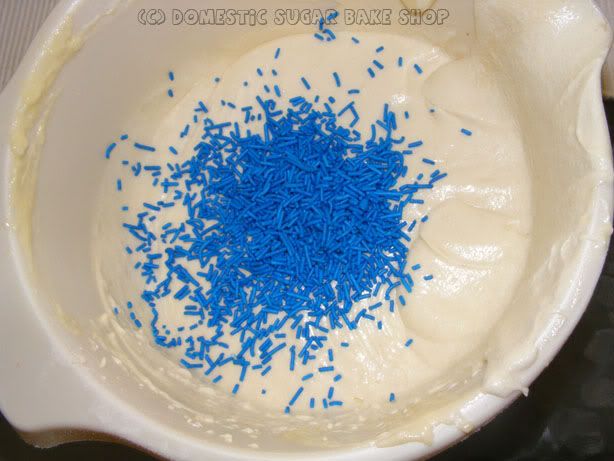
Now, go back to the white mix, and take about 1/3c of Jimmies and add it in. Stir lightly. Jimmies can bleed a little if over-mixed, so make sure you only stir enough to mix in.
Now, fill the wrappers on top of the blue (3/4 to the top), and bake 'em as usual.
While those are baking, go to the decorating phase.
Take some gum-paste (any colour) and roll them into small balls. Try to keep them about the same size and not too big. These will make the ears of the bear.
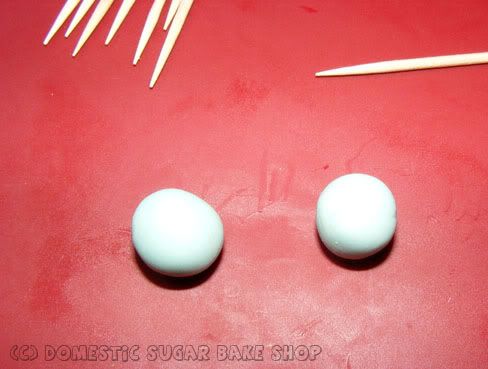
Sets of Ears? CHECK!
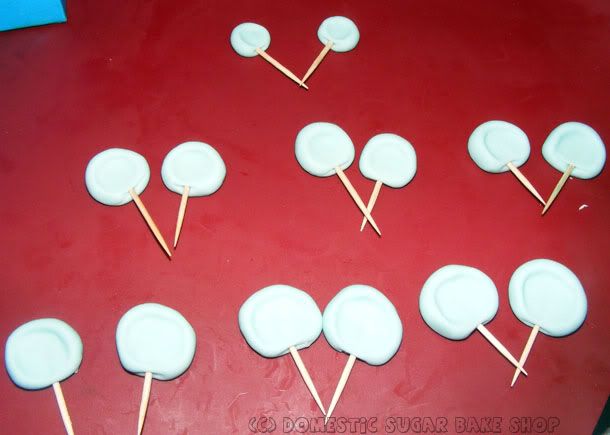
Let those dry while the cuppies bake/while you get fondant and icing ready.
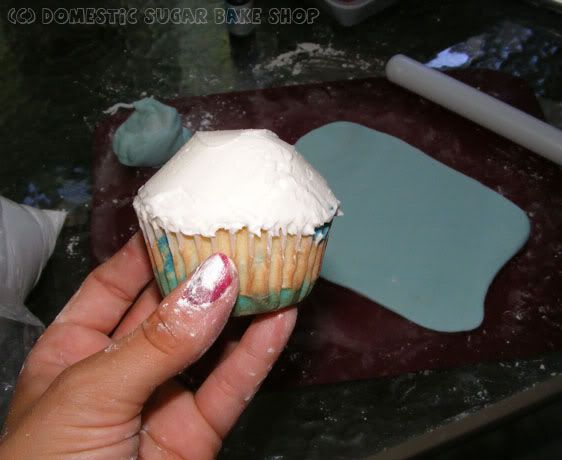
When the cuppies are done, and cool. Take your icing (whatever you choose), and using a butterknife, create a dome on the top! Make it as smooth as possible.
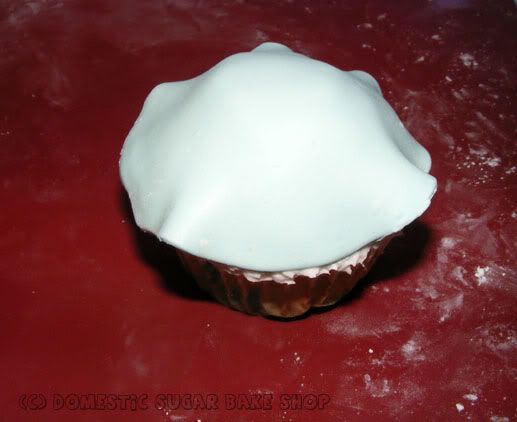
Now, roll out your fondant, and using a large circle-cookie-cutter, cut a circle of fondant. Lay the fondant on the the cuppy and begin to smooth it out.
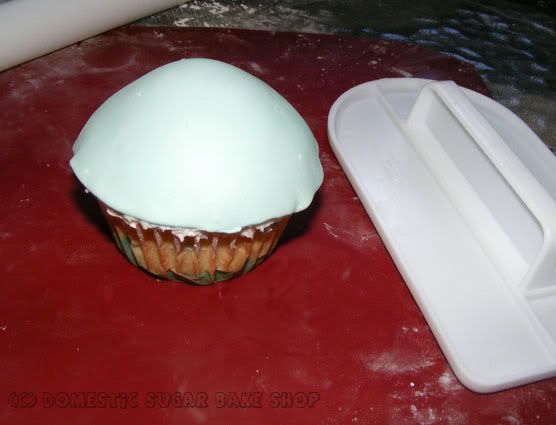
I like to use a fondant smoother. Get them as smooth as possible and then fold down the edges (not shown).
Now, pick in the ears:

Then using bits of gumpaste or fondant, roll out a middle oval for the nose. Secure it with a little water:
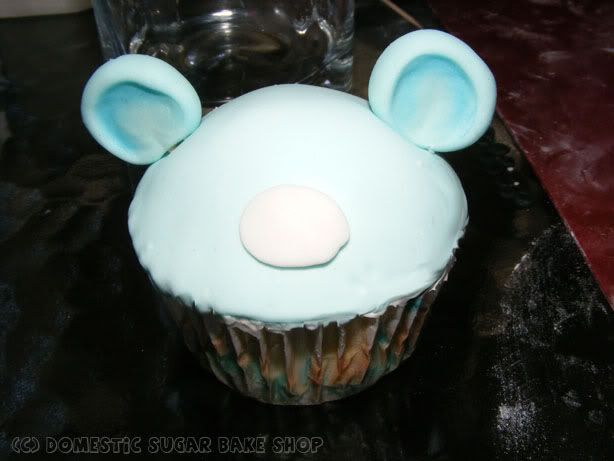
Next, with extra fondant or gumpaste, add on eyes. You could also just draw on the eyes.

Finally, add on the smile with a little foodcolor and water. I paint it on with a paint brush. If you have food-grade luster dust, you can even give the bear rosy cheeks and shade in the ears.
SHE'S ALL DONE. Man, that was easy right?
This idea could be used for other things, like a GLOOMY-BEAR FOR EXAMPLE:
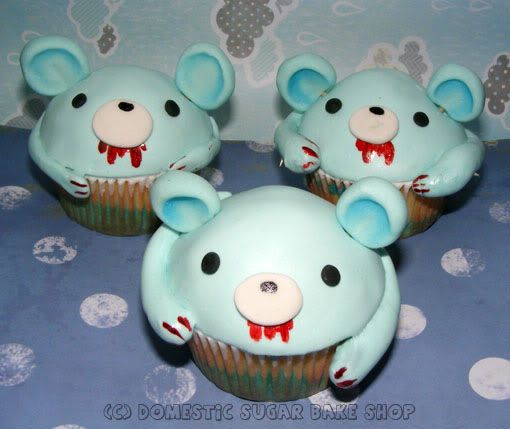
I know, Gloomy Bear is supposed to be Pink.... Oh well! I just wanted to play.
If you wish to add in arms, just roll out some extra fondant or gumpaste and glue it down with dabs of water.
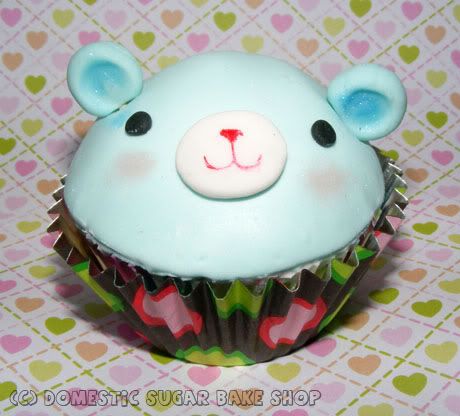
And now you know how to make an awesome Cuppy-Bear (or an even more rocking GLOOMY CUPPY-BEAR).
I hoped you all enjoyed the Tutorial. To see more, check out the blog:
http://domesticsugar.blogspot.com/
or
Google: DOMESTIC SUGAR BAKE SHOP
I hope you all enjoyed the LONG tutorial as much as I did making it.
Until then!
Thanks Meghan! My sister-in-law (Teri) loves Hello Kitty, so she will be super excite to see this today (that's what gloomy bear is from). I first fell in love with Meghan's gorgeous cookies. Some cute ones she made recently are these dinosaur heart cookies.

Just the other day, I saw this post for making a gumpaste anemone. I think Meghan and Teri would make perfect friends because this is the flower that Teri wanted on her wedding cake. At the time, I had no idea how to make them, so she settled for some other flowers (yes I feel a little like a failure--I hope she has forgiven me). Isn't it gorgeous? If you want to know how to make one, click here.

Anyone who likes cookies, cake, or decorating these delicious treats seriously needs to start following Meghan.
SO cute and I am loving the inside turquoise color of them...super fun! So creative!
ReplyDeleteLiesl :)
Those are adorable!! :) Love the extra details like the sprinkles and the blue and white cupcakes! Way to go all out!!
ReplyDeleteSo fun! thanks for sharing.
ReplyDelete