Pages Navigation Bar

Showing posts with label Chocolate. Show all posts

Tuesday, June 12, 2012

Cupcake Toppers in ... 1 - 2 - 3

I have to confess that I am generally not a fan of cupcake toppers.  It is the snobby cake decorator in me that wants everything on a cake (or cupcake) to be edible.  Last year, when the craze for cupcake toppers hit, I was less than thrilled.  I like to expend creative energy on edible decorations.

However, I finally gave in.  Last August, my niece and nephew had a superhero birthday party.  They wanted cupcakes with "the little toothpick things" as the 3/4 year old described them.  I was walking down the kids craft aisle of the craft store, when I saw these foam stickers, and...BAM I knew what I was going to do.  I grabbed a bag of the stars, a paint pen, and headed to the checkout.

When I got home, I couldn't wait to get started.  I used the white paint pen, and a fine black sharpie to write on the foam stars.  I wrote superhero words like "bam," "pow," and "zap."  I also added a few "happy birthday's" and many letter "m's" for their names.  The stars already came with that fantastic border, so no other decoration necessary.  When I was done, I had a pile of stickers that looked like this:


To construct the topper all I had to do was pull the back off the foam stickers, and place a toothpick between two stickers (sticky sides together).

Stick in a cupcake, and you are ready to go!  How easy was that?  I used the "Grasshopper" (mint chocolate) cupcakes from this post, and chocolate cupcakes with strawberry icing.

Tuesday, August 16, 2011

Hot Fudge Sundae Cupcakes {Guest Post from Ashton at Something Swanky: {DIY} Specialty Cupcakes and Desserts}

I hope everyone had a lovely weekend.  I know I did, except for the crazy traffic coming back from Utah.  I actually saw a semi truck that had completely fallen apart and caught on fire!  I apologize for taking a three-day weekend, but we are back with another delicious guest post.  Today we have Ashton from Something Swanky: {DIY}Specialty Cupcakes and Desserts sharing Hot Fudge Sundae Cupcakes.  Is anyone else out there saying "yum"?


Hello! I'm Ashton from Something Swanky: {DIY} Specialty Cupcakes and Desserts. I blog solely about desserts, and I'm super excited to be blogging here at Snips & Spice for CUPCAKE MONTH!!

I'm fanatical about cupcakes and jumped at the opportunity to write this post. Can I tell you something else I'm fanatical about?

Chocolate Ganache.

I love chocolate ganache. Love, love, love-- pure, adoring, unconditional love.

For chocolate ganache.

You know why? It's delicious and decadent, obviously. But more than that-- you can do so much with it. Put it on a cake, put it on your ice cream, or put it on your cupcake that looks like ice cream!

That's right. Hot Fudge Sundae Cupcakes! The beautiful thing about ganache is that once it cools, it's still spreadable-- which means you can still "pour" it over these cupcakes without worry about the buttercream melting or losing shape. Add a pretzel M&M for a cherry on top (I don't do fruit on my cupcakes), and voila-- hot fudge sundae, hold the bowl and spoon!


Hot Fudge Sundae Cupcakes: Recipe


Chocolate Cupcakes:
Recipe Source: Betty Crocker Just Cupcakes

2 1/4 c. AP Flour
1 2/3 c. Sugar
3/4 c. Butter, softened
2/3 c. Unsweetened Cocoa Powder
1 1/4 c. Water
1 1/4 tsp. Baking Soda
1 tsp. Salt
1/3 tsp. Baking Powder
1 tsp. Vanilla
2 Eggs

  1. Preheat oven to 350ยบ.
  2. Using a stand mixer, whisk together all ingredients. Fill cupcake liners 2/3 full.
  3. Bake for 19 minutes. Allow to cool completely before frosting.
Buttercream Frosting:
Recipe Source: Allrecipes.com

1/2.c. Butter
1/2 c. Shortening
4 c. Powdered sugar
3 Tbsp. Milk
1 tsp. Vanilla


  1. Whisk together butter and shortening in a stand mixer.
  2. Alternately add the 4 cups of powdered sugar with the liquids (1 cup sugar, 1 tbsp milk, 1 cup sugar, 1 tsp vanilla, etc...), whisking thoroughly in between and scraping down the sides of the bowl.

Perfect Chocolate Ganache:

Approximately 2 cups chocolate chips
Approximately 1 1/2 cups whipping cream

The key to this ganache is to not measure anything. Just trust me on this, you can't depend on the measurements! Pour desired amount of chocolate chips (recommended approx. 2 cups) into a microwave safe bowl. Pour the whipping cream into the bowl until it's just level with the chocolate chips (it shouldn't cover the chocolate chips completely). Microwave for 1 minute and whisk until smooth.

Thanks to Malory for inviting me to be a part of Cupcake Month here at Snips and Spice! I hope you've enjoyed this recipe and that you'll swing by Something Swanky and say "hi" sometime!

Thanks Ashton!  I also love ganache.  Ashton hosts a link party on Thursdays for recipes.  Two of my favorite recipes from her blog are pink lemonade cupcakes


Don't those both look scrumptious?  Add Something Swanky to your blog list for more delicious treats!


Friday, August 12, 2011

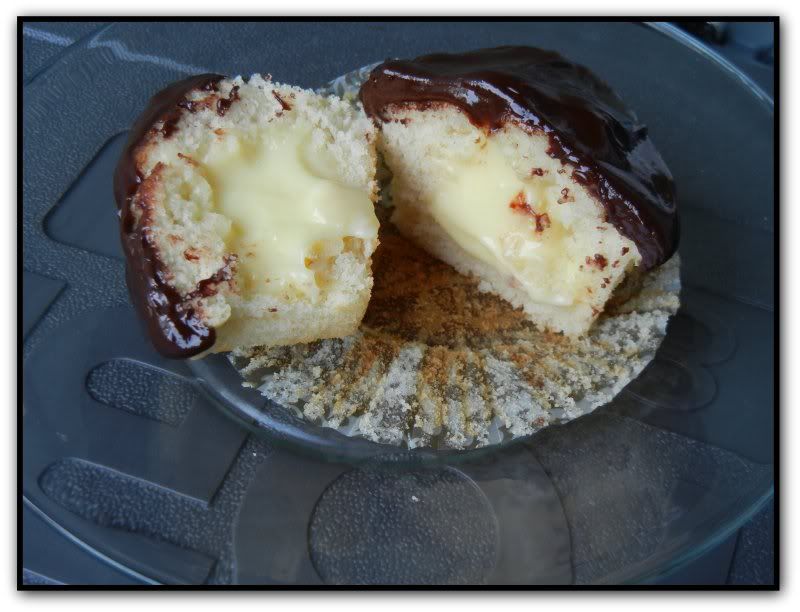
Boston Creme Cupcakes {Guest Post from Lyuba at Will Cook for Smiles}

Warning!  I had to go buy a donut after reading this recipe.  Boston Creme donuts are a favorite in my family, and I just know I will have to make these for my dad.  Lyuba from Will Cook for Smiles is so creative for think of this deliciousness!  She created the recipe as a Father's Day treat for her hubby.
Ingredients:

For Cream Filling:
1 cup of milk
2/3 cup of heavy cream
1/2 cup granulated sugar
Pinch of salt
4 large egg yolks
3 tablespoons cornstarch
4 tablespoons cold unsalted butter
1 1/2 teaspoons vanilla extract

For Cupcakes:
3/4 cup butter, softened
3 eggs
2 1/2 cups flour
2 1/2 tsp baking powder
1/2 tsp salt
1 1/2 cups sugar
1 1/2 tsp vanilla
1 1/4 cups milk

For Ganache Frosting:
6 ounces semisweet chocolate
3/4 cup heavy cream, boiling

Directions:
Make the cream filling FIRST:
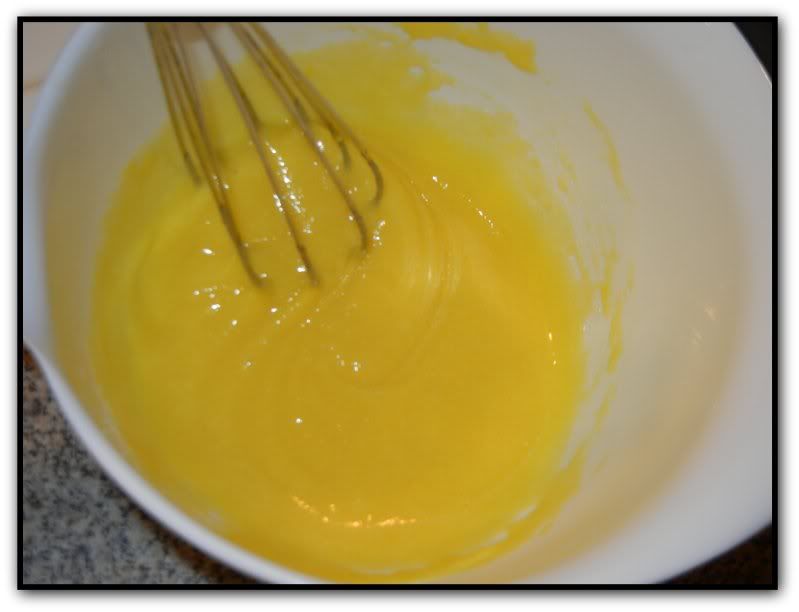
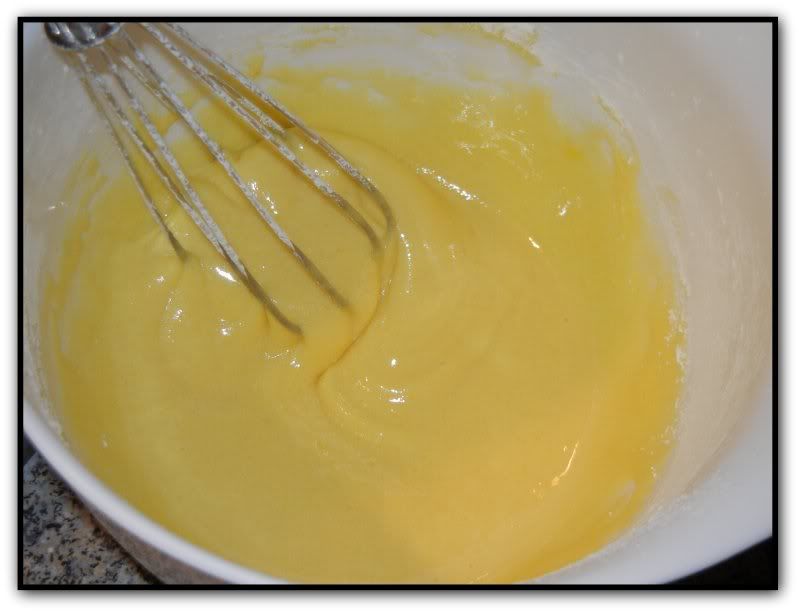
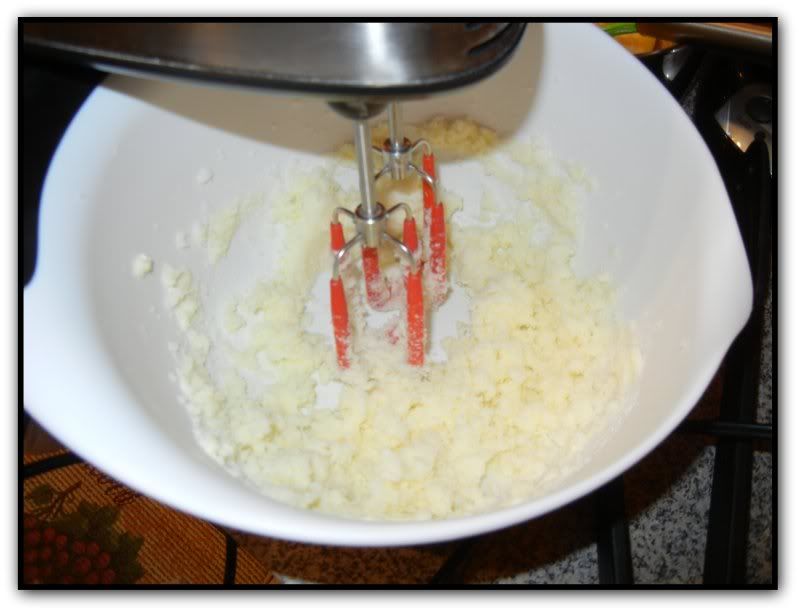
1.Whisk together the egg yolks and sugar until completely combines
2. Add flour and cornstarch, whisk together very well and set aside while heating the milk
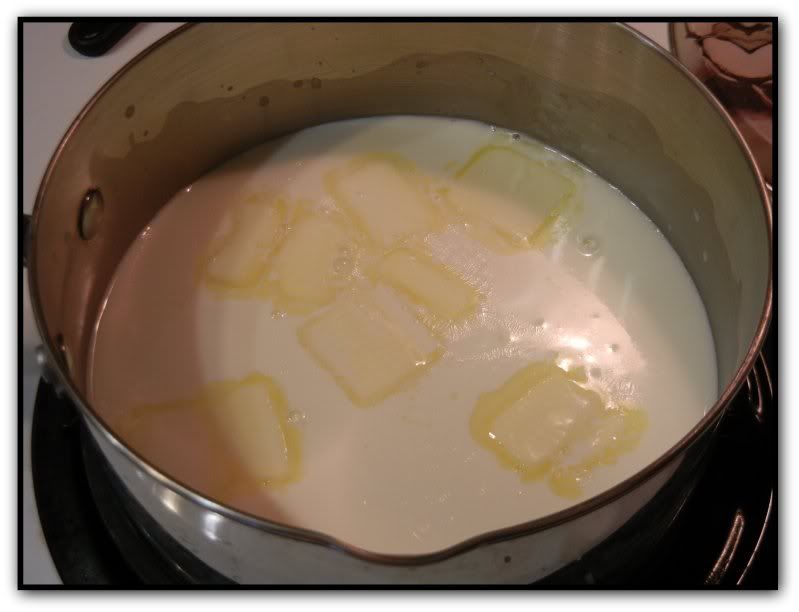
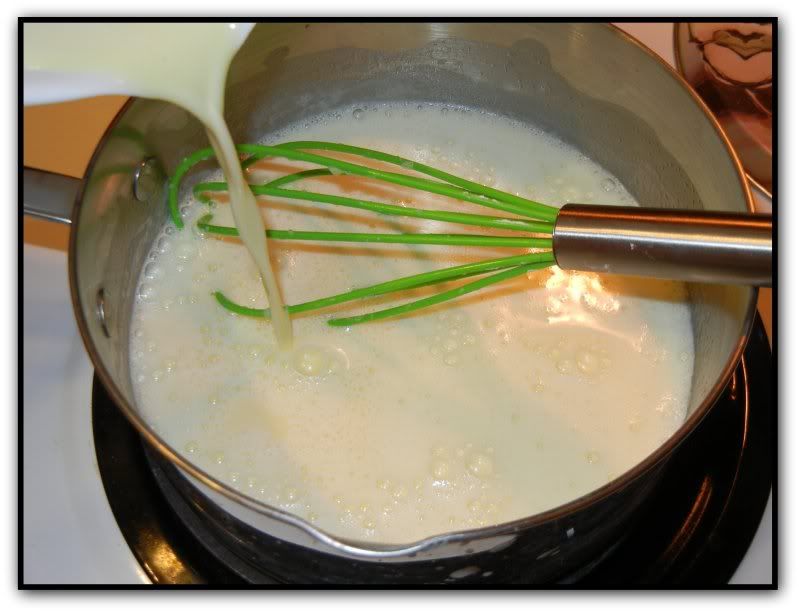
3. Heat milk, heavy cream, butter and salt until simmering
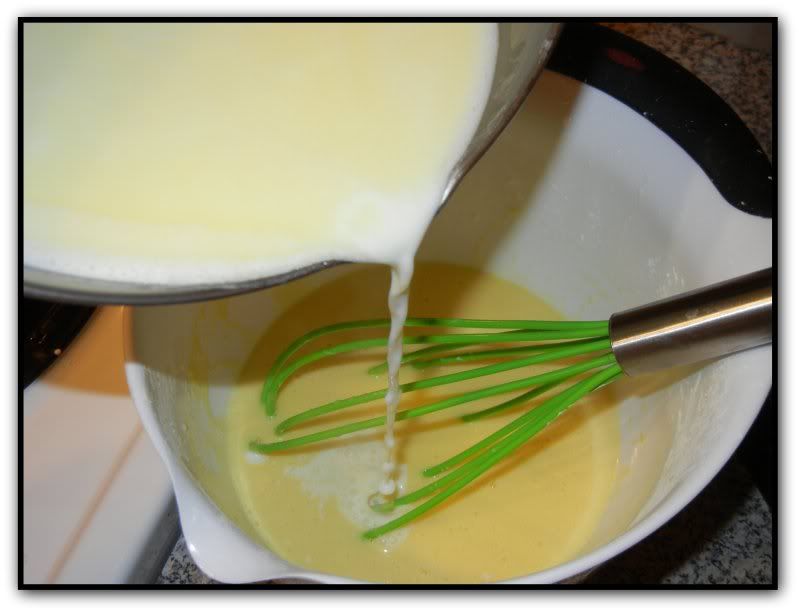
4. Slowly add the heated milk mixture into the egg yolk mixture stirring constantly. Whisk well slowly
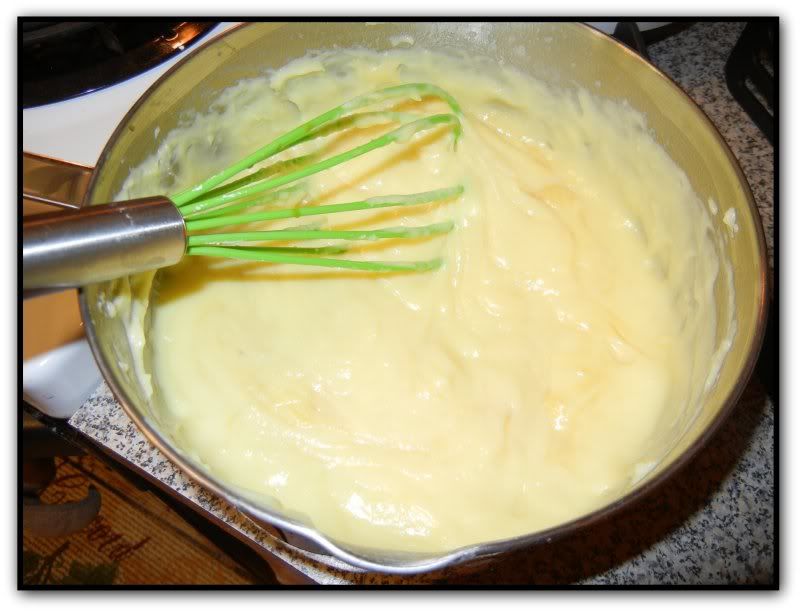
5. Return the mixture into the pot and bring to simmer stirring constantly. The mixture will thicken within 30-45 seconds. Take off heat!
6. Whisk in the vanilla, set aside to cool to room temperature

Cupcakes:
1. Preheat the oven to 375, place the cupcake liners into the 12 cup muffin pan
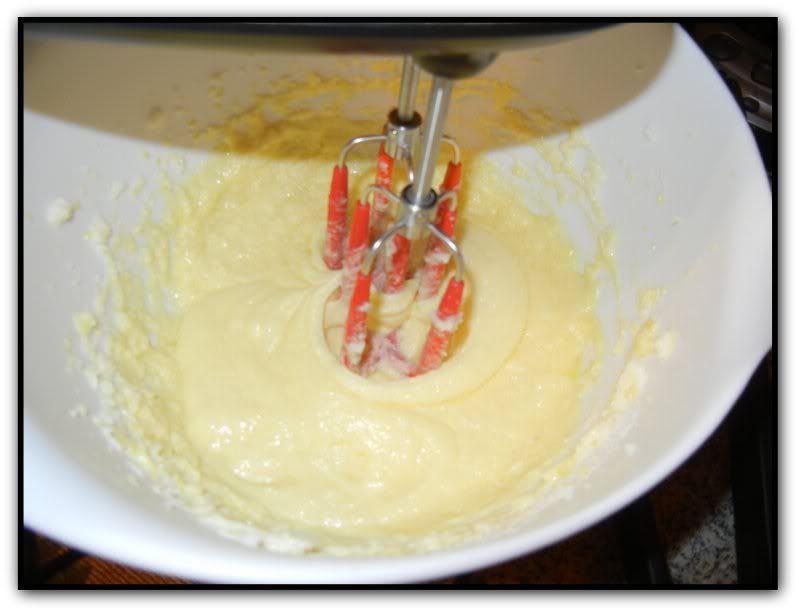
2. Beat the butter is a large mixing bowl for 1 minute
3. Add sugar and beat for another minute

4. Add one egg at the time, beating after each addition
5. Beat in vanilla
6. Mix in flour, baking powder, and salt
7. Add milk, beat well for about a minute
8. Pour into the muffin pan and bake for 15-20 minutes, until the toothpick inserted into the center of the cupcake comes out clean

Ganache Frosting:
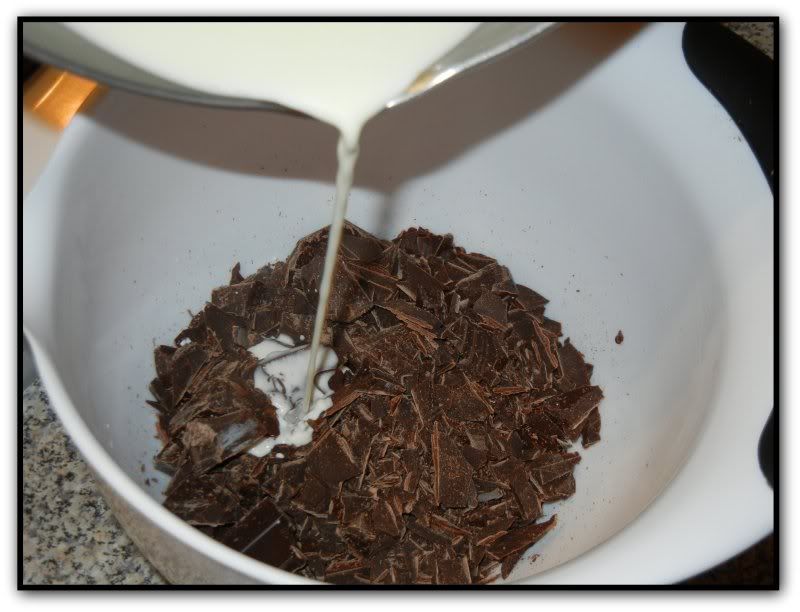
1. Bring the heavy cream to boil, be careful not to let it actually boil or it will raise
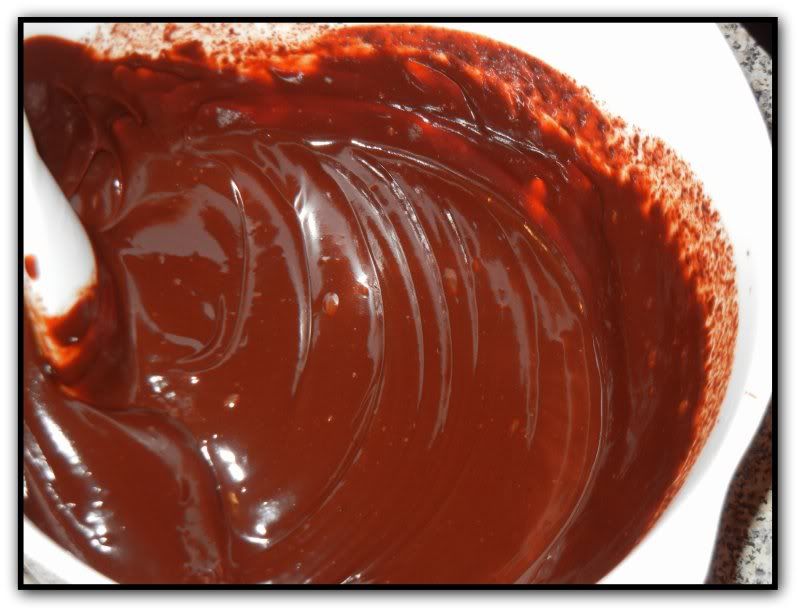
2. Pour the boiling cream over the chopped chocolate and stir until melted. Cool to a little warmer then room temperature

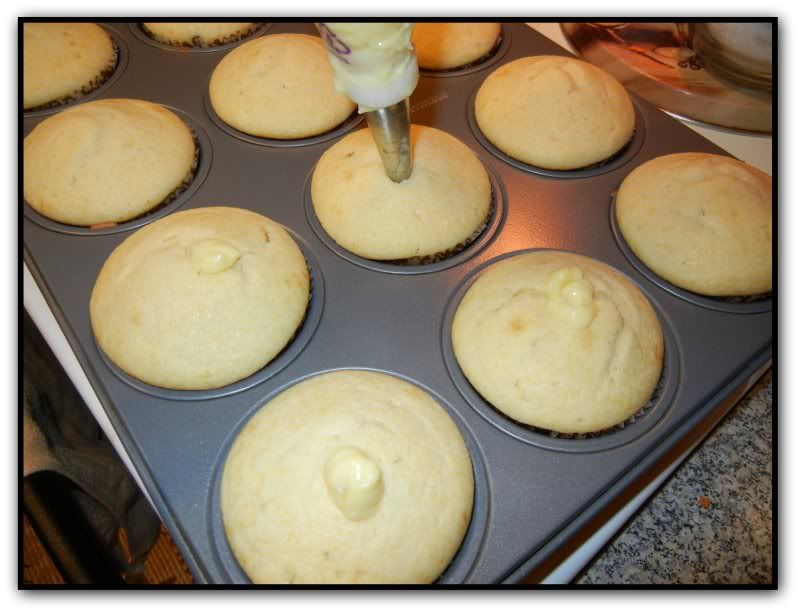
~ Fill a decorating bag with the cream filling. Use a long thin decorating tip. Insert the tip into the baked cupcakes while they are still hot.
~When the cupcakes are completely cooled, spoon the ganache frosting on top of the cupcake and let is slowly spread. If it does not spread too easy, help it with the edge of the rubber spatula very carefully.

Enjoy!! Absolutely delicious!!

Thanks Lyuba for creating and sharing this wonderful creation!  Lyuba posts lots of wonderful looking recipes on her blog.  This prinzregententorte (which I have not idea how to pronounce) looks divine!


She also made these yummy red velvet cupcakes.


If you can move after stuffing yourself with these delicious Boston Creme Cupcakes, stop by Will Cook for Smiles and check out Lyuba's other great recipes.

BTW - I am going to Utah for my cousin's wedding this weekend, so no posts on Saturday or Sunday, but we will be back for more Cupcake Month on Monday.  Have a great weekend!

Thursday, August 11, 2011

Grasshopper Cupcakes

Mint and chocolate is one of my favorite combinations.  Andes mints, junior mints, peppermint patties, thin mints, etc.  Is there anything more yummy and refreshing?  My favorite treat at Dairy Queen is a mint cookie dough blizzard (I know, I know, everyone always asks for clarification that it is mint and cookie dough, but trust me it is fabulous).  The grasshopper blizzard was the inspiration for this delectable treat.  A few weeks ago, Adam and I went to a barbecue and brought these.  They were the hit of the party!  Are you salivating yet?

Ingredients

Cupcakes
  • 1 box chocolate cake mix
  • 1 box instant chocolate pudding mix
  • 1/3 cup water
  • 1/3 cup oil
  • 1 cup sour cream
  • 5 eggs
  • 1 Tablespoon peppermint extract
  • 1 Tablespoon vanilla extract
  • 36 mint oreos (I like the double stuff)
Frosting
  • 14 oreos
  • 2 cups shortening
  • 1 Tablespoon peppermint extract
  • 2 lbs powdered sugar
  • 1/2 cup milk
  • green food coloring (optional)
  • chocolate jimmies (optional)
Directions
  1. Preheat oven to 325 degrees Fahrenheit.
  2. Mix all ingredients for cupcakes together (except for the oreos).
  3. Place one oreo in the bottom of each cupcake liner, then scoop 2 tablespoons of batter on top of the cookie.
  4. Bake for 18-25 minutes (test with toothpick - if it comes out clean, they're done).
  5. While the cupcakes are cooling, make the frosting.  Begin by taking four whole oreos, and the filling from the other 10 oroes and mix together.
  6. Add the shortening and peppermint extract and mix.  If you want a darker green, add food coloring at this point.
  7. Slowly mix in powdered sugar to taste.  Use the milk to help keep the frosting creamy if it becomes dry from the powdered sugar.  When you are finished, it should be a creamy, but fairly stiff consistency.
  8. Frost cupcakes as desired.  I used a large piping bag with a large circle tip to frost the cupcakes.  I added the jimmies (sprinkles) as I frosted.
  9. I like to let the frosting set and get a little stiff on the outside before serving.  Now share with your friends and family, or keep them all to yourself (although it makes 36, so you might get a little full).

Friday, August 5, 2011

Eggless Chocolate Banana Coconut Cupcakes

I am so excited about today's post.  Fortunately for me, Adam and I have no special dietary needs which means I get to bake whatever I want; I know quite a few people who aren't as lucky as we are.  Manni from I Bake Cakes is sharing an eggless cupcake recipe today.  This recipe can be easily altered to be completely vegan.


This cupcake was an experiment that turned out to be really good. The coconut is not too over powering but it gives the cupcakes more texture instead of taste. However if you prefer to have more coconut, then I would suggest using the reduced coconut milk instead of the regular milk. The frosting was a regular butter cream frosting which I flavored with coconut milk. I then dunked the frosted cupcakes in sweetened coconut. To top it off, I rolled out chocolate fondant for the “fake coconut” and used green fondant for the leaves.


Yields: 15 cupcakes

Ingredients

2 cups all purpose flour
1 ½ tsp baking soda
½ tsp salt
¾ cup granulated sugar
1 cup milk (I used 1% milk) or the reduced coconut milk (read below for more info)
1/3 cup oil (I used vegetable oil, canola should be fine)
1 tsp vanilla extract (I actually used a bit more!)
1 Tbsp vinegar
1 Medium size Banana
¾ cup shredded coconut (I had unsweetened kind)
4 Tbsp Cocoa Powder

Method:
  1. Pre-heat the oven to 350 F.
  2. In a medium sized bowl combine: flour, sugar, cocoa powder, baking soda and salt.
  3. In another bowl, mix: milk, oil, vanilla extract, and vinegar. Mix well. 
  4. Add the dry flour mixture to the wet ingredients slowly and stir until combined. (I ran this through my hand blender for a minute). This mixture is not thick as compared to the cake batter.
  5. Now add in the mashed banana and stir using rubber spatula.
  6. Fill each of the cupcakes until about 2/3 full. Transfer to the oven.
  7. Bake for 15-18 minutes, depending on the type of oven you have you may need to watch these. I had to do several batches to get the right texture. My trial ones came out dry but the last batch was amazing. To further test your cupcakes, take a clean toothpick and insert in the center; if it comes out clean, they’re done!
Frosting:

1 cup (2 sticks) unsalted butter, room temperature
2 ½ cups powdered sugar|
1/3 cup reduced coconut milk, room temperature
1 ½ tsp vanilla extract
1/8 tsp salt
1 ½ cups sweetened coconut

For Reduced Coconut Milk:

Bring coconut milk to a boil in large deep sauce pan over med-high heat. The milk will boil up high, so watch out! Reduce the heat to med-low and boil until the milk has reduced close to half of the milk. This can take approx. 30 minutes. Don’t worry too much if it’s not close to it!! As long as the milk reduces some, it’ll be fine. Next remove from heat and cool down completely. Store it in a small bowl with a lid and chill in the refrigerator. This step can be done a day or two before but remember to keep it chilled!

** Coconut milk is sold in cans, and they are sold in all the major grocery stores. I prefer the cans only because I know the ratio.

Manni's work is just gorgeous!  I picked some of my favorite pictures from her blog to share with you; she is truly an inspiration.


Don't these all look perfect?  Her work is so clean and impeccable.  I limited myself to only sharing pictures with cupcakes, but Manni also does gorgeous fondant cakes.  She was even in a cake competition last month.  Head over to say "hi" and share some love with Manni.

Monday, May 9, 2011

Chocolate Dipped Strawberries

Every year (well the last two) for Mother's Day, I make a brunch for my mother.  One of the features is chocolate dipped strawberries.  They are so easy and quick to make you will want to make them every weekend!  In fact, they are so easy, I am not providing much of a recipe, more just general instructions.

Begin by washing the strawberries and drying them on paper towels.

You will need to make a double-boiler (see this post for instructions on how to make a double boiler).  Melt one package of chocolate chips (I use the mini semi-sweet chocolate chips) with a dollop (very technical term - hee hee) of Crisco.  Then dip the strawberries in the chocolate.

Set the strawberries on a pan lined with parchment paper.

Let cool in fridge; impress your friends (or mom).

Thursday, February 17, 2011

Experiments - A Variation on No-Bakes

Do you often experiment with recipes?  I have tried two in the last few days.  The first one, I burned, and we aren't going to talk about.  The second was an experiment with my no-bake cookies.  I was thinking they would be delicious with some marshmallows mixed in, or some chocolate chips.  I had white chocolate chips on hand, and since the missionaries were coming over in a couple hours, I thought that there would definitely be someone to eat them.

I made the cookies like I normally do, but after I mixed the oats and the chocolate mixture, I added the chocolate chips.  What I didn't count on, was the fact that the chocolate chips would melt so quickly.  I'm not really sure the experiment was a success, but not exactly a failure either.  They taste pretty good, but the texture is a little different.  I am looking forward to trying it with mini marshmallows.

Monday, February 7, 2011

Almond Joy Cake

In December, I shared Chocolate Covered Coconut Almond Clusters with all of you.  For this recipe, you will need to make the coconut filling.  You can make the filling while your cake is baking, but make sure you get all the ingredients.  As I told you in December, I learned to make this cake for my friend Barb's birthday in August.  She just sent me the photos and said I should blog about it.

Ingredients
  • Chocolate Covered Coconut Almond Cluster Filling
  • 1 box white cake mix
  • 1 box vanilla instant pudding mix
  • 5 eggs
  • 1/3 cup water
  • 1/3 cup vegetable oil
  • 1 cup sour cream
  • 1 cup coconut flakes (you should have enough leftover from the filling above)
  • 1 tablespoon vanilla
  • 1/2 bag mini chocolate chips
  • 1 bag shaved almond
  • 2 pounds chocolate buttercream (I like to buy it directly from the grocery store bakery--it is delicious, and cheap)
Supplies
  • Mixer & bowl
  • Soft spatula for scraping
  • Angled spatula for spreading
  • Baker's spray (my best friend)
  • Pan (I used two 6 inch square pans, but two 8 inch circles would be fine)
  • Cooling racks
  • Cake plate (I use a piece of cardboard covered in foil for transport)
  • Large knife or leveler
  • Piping bag
Directions
  1. Preheat oven to 325 degrees.
  2. In large mixing bowl, combine cake mix, pudding mix, eggs, water, oil, sour cream, coconut flakes, and vanilla.  Mix until combined, but be careful to not over mix.
  3. Coat your pans with spray, and divide the batter evenly between both pans.
  4. Bake for about 35 minutes (test with a toothpick, when inserted, it should come out clean or with a few crumbs, but no batter).  Let cool for 10 minutes, then turn out onto cooling racks to cool completely.
  5. Cut the top off of the cakes with a large knife, or leveler.
  6. Smear a little frosting on the cake plate to secure the cakes.  Flip one cake cut side down.  Fill a piping bag with chocolate buttercream.  Cut a large hole at the tip and pipe a dam around the cake (this creates a barrier for the filling).  Spread the coconut filling inside the dam.  Sprinkle some chocolate chips and some almonds over the coconut.
  7. Place the other cake on top of the first cake (cut side down again), and frost the entire cake.
  8. Quickly, use your hands to sprinkle/press chocolate chips and almonds into the frosting before it dries.
Yum!  As an alternative, you might try making cupcakes.  Bake for about 18 minutes.  Pipe chocolate buttercream in a large circle on top, scoop coconut filling in the center, and finish with an almond.

I will be linking this up at these link parties.  Check out what else is out there!